
You can customise your Tenancy's colour scheme at any time — either during initial setup or after your Tenancy has been created.
To change the colour scheme of your Tenancy, follow these steps:
1. From your Tenancy Homepage, navigate to Admin > Tenancy Management > Update Tenancy.
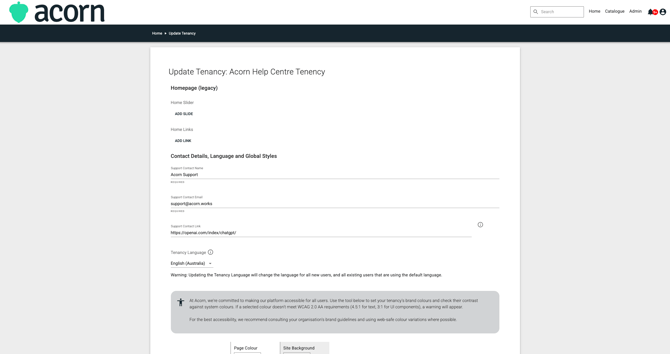
2. From this page, scroll down to find the Primary Colour, Secondary Colour, Light Colour, and Dark Colour fields. Click a colour box to open the colour palette, where you can select any colour and adjust its shade.
Primary Colour
Primary Colour is as the name suggests, it is the colour you will see most often and is the colour of the banner at the top of the page.
Secondary Colour
Secondary Colour is the complementary or contrasting colour you would like to appear on certain pages, such as 'My Learning and Catalogue'.
Light Colour
Light Colour is the accents that appear when you hover over tabs such as 'Home, Catalogue, and Admin'. They will appear as a thin blue line as the default setting.
Dark Colour
Dark Colour is the colour that appears on the banner at the bottom of the page, this is the large banner that contains 'Change Password, Request Account Merge, Support, and Privacy Policy'.
3. Once you have set your colours, click the Update Tenancy button to save your changes.
Note: Colour changes take effect immediately for all users in your Tenancy. It is recommended to preview your selections before saving to ensure sufficient colour contrast for accessibility.
You now have a customised colour scheme for your Tenancy!