
If users have tenancy swap access, they can now be assigned to scheduled reports in other tenants.
Before setting up a scheduled report, run the desired report type and save it as a preset using the cog icon — this is required before a scheduled report can be configured. Follow the steps below to create a scheduled report.
1. From your Tenancy Homepage, click on 'Admin' located in the top right corner of page.
2. From there, proceed to 'Reporting' > 'Reports'.
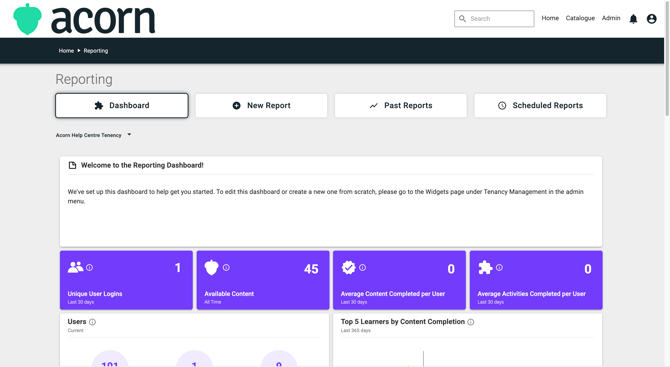
3. This will take you to the Reporting Dashboard, Click on 'Scheduled Reports' > '+ New Scheduled Report'.
4. From here, enter a Name, Preset, Schedule Frequency, User Access, and any additional settings.
5. Click 'Create Scheduled Report'.
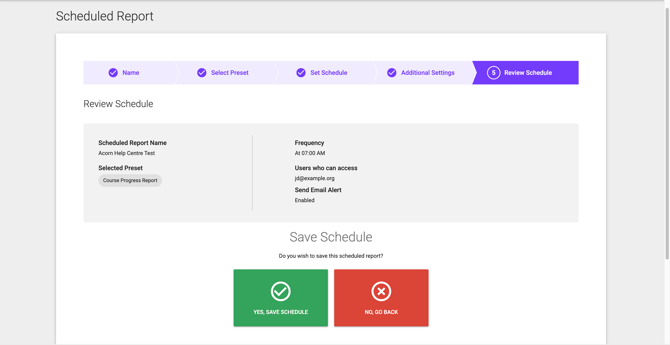
Your scheduled report can now be viewed in Scheduled Reports, ready at the next interval.
For a scheduled report to work, you must save a Preset of an existing report. For step-by-step instructions, see the Saving a Report Preset article. If that article is not yet available, navigate to your desired report, configure your filters, click the cog icon, and select Save as Preset.
Your scheduled report is now configured and will run automatically at the next scheduled interval.